How to create Tool tips using Materialize CSS
Make money for being or staying online/internet.
You will get a $50 starting gift when you join using this code: Exode4LKrbujm1z and link:: GET THE OFFER NOW!!
Hey, friend welcome come back to the site, if it's your first time then feel at home because you're in the right place.
In this simple post, I will be showing you how you can create or add simple tooltips on your SITE or WEB APP using materialize CSS.
Before we even go further, the live example is already infront of your eyes. Try hovering over those truncated article titles on your right handside(LEARN MORE SECTION) or at the bottom of the page(POSTS YOU MAY LIKE) if you are using a mobile device. Those are what we call the tooltips.
What are tooltips?
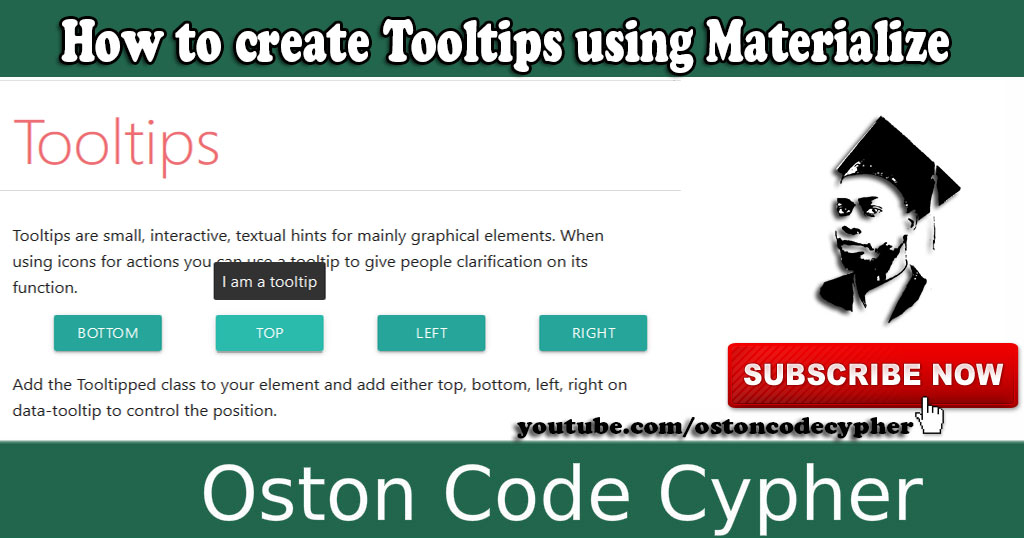
Tooltips are small, interactive, textual hints for mainly graphical elements.
How are they(tooltips) useful?
When using icons for actions you can use a tooltip to give people clarification on its function. For example delete button, Edit button, etc.
Watch Tutorial
How are they created?
You can create a tooltip by adding the .tooltipped class to your element. Moreso, there are different data attributes you can add on the element and specify it's position, that is to say, either on the top, bottom, left, right and this is set using the data-position attribute.
Markup
//data-position can be : bottom, top, left, or right
//data-tooltip defines the tooltip text you want to appear
  <a class="btn tooltipped" data-position="top" data-tooltip="I am a tooltip">Hover me!  </a>
Initialization
But remember for any materialize CSS widget or component to work, you need to initialize;
//waits for the document to load before running the code inside
document.addEventListener('DOMContentLoaded', function() {

//Create a variable and assign it to any element with the tooltipped class.
	const hint_tip = document.querySelectorAll('.tooltipped');

//Then use the materialize instance(M) to initialize it.
	 M.Tooltip.init(hint_tip, {});
});
Options
As you can see in the last line we passed in an object and this takes in key pair values(WATCH VIDEO TO UNDERSTAND THIS).
Or...Visit the official documentation page for the tooltips and learn more: https://materializecss.com/tooltips.html
Save up to 80% with this Domain & Shared Hosting package deal! 80% OFF - GET OFFER NOW
Related Post(s)
» How to create a Simple and Responsive Sidenav
» How to create a FAQ section using Materialize CSS Framework
» How to create Simple & Responsive Tabs using Materialize CSS
» How to create a Nav Bar Using Materialize CSS
» How to create Parallax Scrolling Effects using Materialize CSS
collections_bookmark Category :: Materialize cssdate_range Published :: 4 years ago At: 01:23 PM
event_note Detailed Date :: Aug 08th, 2019
person Writer :: Code
- RECENT POSTS
 1 year ago
How to force the browser to cache a page?
There are several ways to force a web browser to cache an HTML page:
 1 year ago
How can i cache pages using php?
You can use the output buffering functions in PHP to cache pages. Output buffering allows you to store the output of a PHP script in a buffer, which you can then manipulate before sending it to the client.
 1 year ago
PHP is a popular programming language that is widely used for web development. It stands for "PHP: Hypertext Preprocessor" and is a server-side scripting language. This means that it is executed on the server, rather than in the user's web browser.
 1 year ago
HTML, or Hypertext Markup Language, is the standard markup language for creating web pages and web applications. It is used to structure and organize content on the web, and to create the basic structure and layout of a webpage.
 1 year ago
CSS, or Cascading Style Sheets, is a stylesheet language used for describing the look and formatting of a document written in HTML. CSS is used to control the presentation of multiple web pages at once, making it a crucial tool for web developers and designers.
 3 years ago
A JavaScript library for formatting and manipulating numbers - Numeral.js
Check out this lightweight JavaScript library used for formatting and manipulating numbers.
 3 years ago
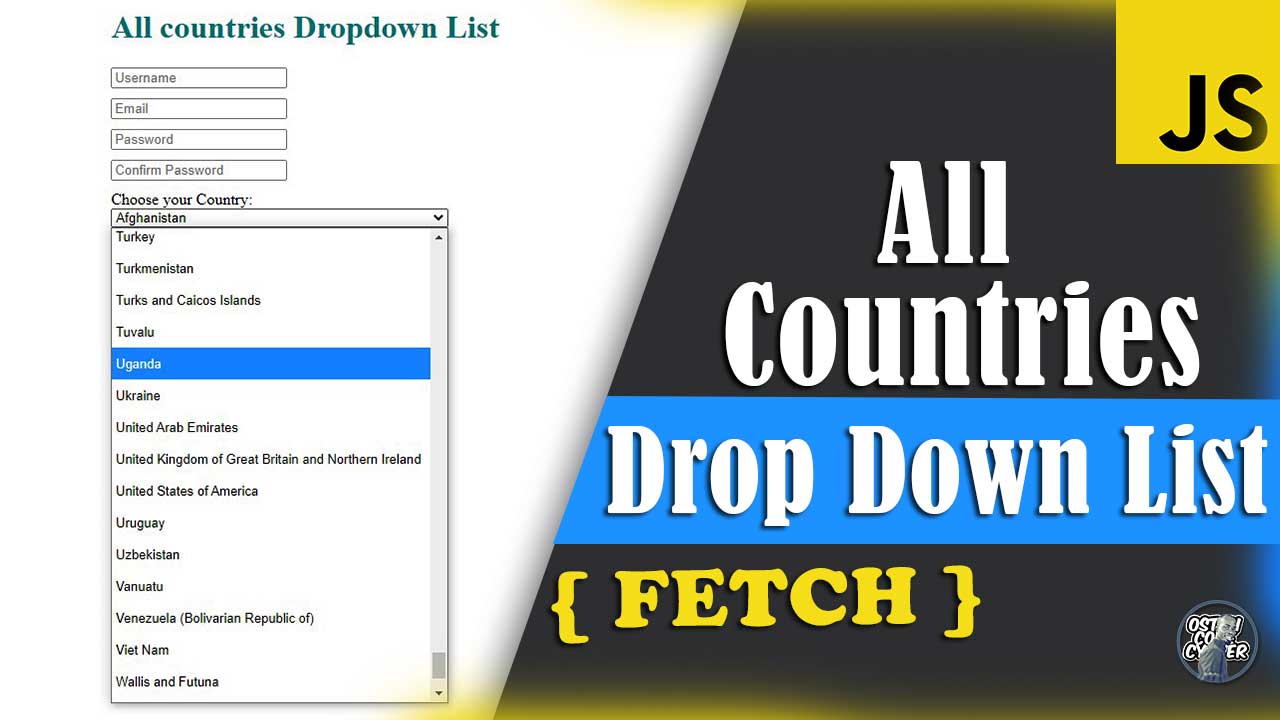
All Countries Drop Down List | HTML Select Country Name
This simple country dropdown list is freely available for you to copy and use in your project forms.
 3 years ago
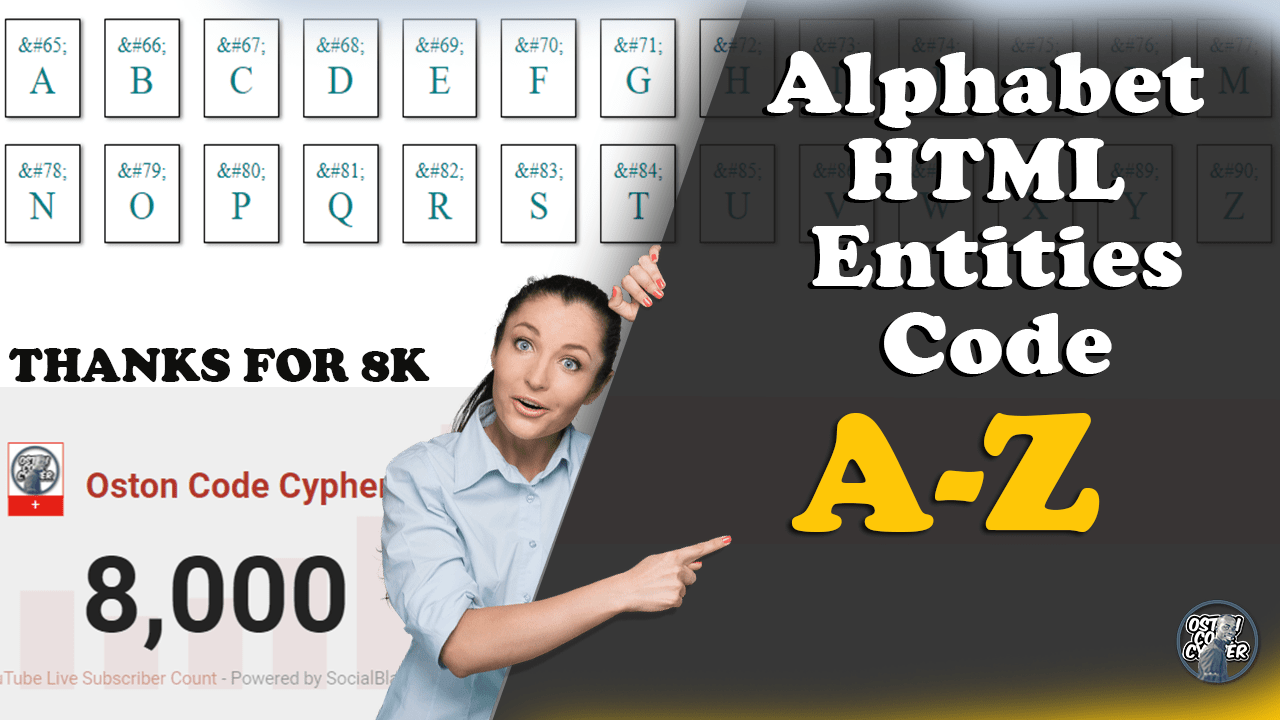
HTML Entities Code Alphabet Discovery Using JavaScript
In this post I will show how writing just a few lines in JavaScript will allow you to render, browse and discover the alphabetical letters using a set of HTML entity codes.
- ADVERTISEMENT