How to create a Simple and Responsive Sidenav
Make money for being or staying online/internet.
You will get a $50 starting gift when you join using this code: Exode4LKrbujm1z and link:: GET THE OFFER NOW!!
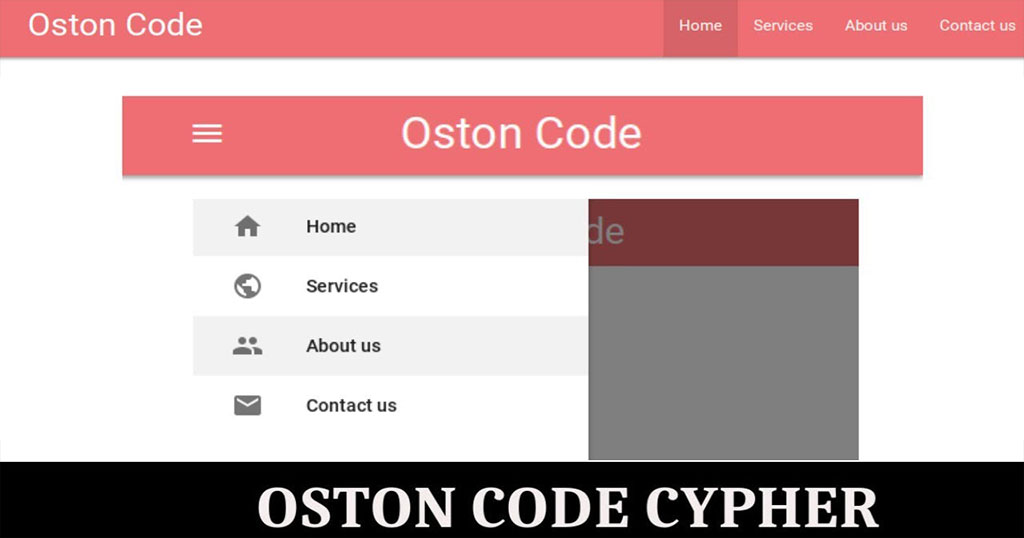
In this simple article i will take you step by step on how to create a simple and responsive sidenav or a slide out menu.
In case you get confused, Here is a very simple Video I created specifically for you.
Step 1
In order to create a navbar, you start by creating the opening and closing nav tag. And with only that materialize will give you a pink bar/border demarcating where the navbar passes.
The .nav-wrapper class will wrap or contain everything inside tha nav tag.
The .container class establishes equal width for the navbar child items(brand-logo and ul) both on the right and left.
The .right will float the list items or menu links to the right side.
.hide-on-med-and-down - This is a media query class that hides the menu links when the users reach the medium screen sizes.
Then .sidenav-trigger specifies that the Hamburger/menu button is the element to be clicked inorder to slide out the sidenav.
Step 2
After all that, copy the same unordered list and paste it below the closing nav tag.
Remove the previous classes and replace them with .sidenav class and on the same element add an id and call it any thing you want.For this case slide_out
NOTE: The id you have assign to the UL element should be the one you target in the data-target="#slide_out" attribute on menu button.
Please note that the sidenav HTML should not be contained within the navbar HTML as in the parent element/tag(nav).
Step 3
Finally initialize it to start functioning.Every javascript component needs to be initialized if you are using this framework.
What we are doing here,
- First, we wait for the document to be ready or load before running any code by adding that event DOMContentLoad.
- Create a variable for example myNav and assign it to the element with the class of .sidenav.
- lastly, we use the materialize instance to initialize the sidenav by passing in the variable we created and followed by an object which takes in alot of options.
If you wan to see the different option you can pass into that object click here Sidenav Object Options
Thanks for learning, Peace - Happy Coding Day
Save up to 80% with this Domain & Shared Hosting package deal! 80% OFF - GET OFFER NOW
Related Post(s)
» How to create Tool tips using Materialize CSS
» How to create a Form Character Counter using Materialize
» How to create a FAQ section using Materialize CSS Framework
» How to create a Simple and Responsive Sidenav
» How to create a Date Picker using Materialize css.
collections_bookmark Category :: Materialize cssdate_range Published :: 4 years ago At: 11:37 PM
event_note Detailed Date :: Sep 12th, 2019
person Writer :: Code
- RECENT POSTS
 1 year ago
How to force the browser to cache a page?
There are several ways to force a web browser to cache an HTML page:
 1 year ago
How can i cache pages using php?
You can use the output buffering functions in PHP to cache pages. Output buffering allows you to store the output of a PHP script in a buffer, which you can then manipulate before sending it to the client.
 1 year ago
PHP is a popular programming language that is widely used for web development. It stands for "PHP: Hypertext Preprocessor" and is a server-side scripting language. This means that it is executed on the server, rather than in the user's web browser.
 1 year ago
HTML, or Hypertext Markup Language, is the standard markup language for creating web pages and web applications. It is used to structure and organize content on the web, and to create the basic structure and layout of a webpage.
 1 year ago
CSS, or Cascading Style Sheets, is a stylesheet language used for describing the look and formatting of a document written in HTML. CSS is used to control the presentation of multiple web pages at once, making it a crucial tool for web developers and designers.
 3 years ago
A JavaScript library for formatting and manipulating numbers - Numeral.js
Check out this lightweight JavaScript library used for formatting and manipulating numbers.
 3 years ago
All Countries Drop Down List | HTML Select Country Name
This simple country dropdown list is freely available for you to copy and use in your project forms.
 3 years ago
HTML Entities Code Alphabet Discovery Using JavaScript
In this post I will show how writing just a few lines in JavaScript will allow you to render, browse and discover the alphabetical letters using a set of HTML entity codes.
- ADVERTISEMENT